Ledger.com/start – Setup Your Ledger Hardware Wallet
Follow this official guide to securely initialize and use your Ledger device for the first time.
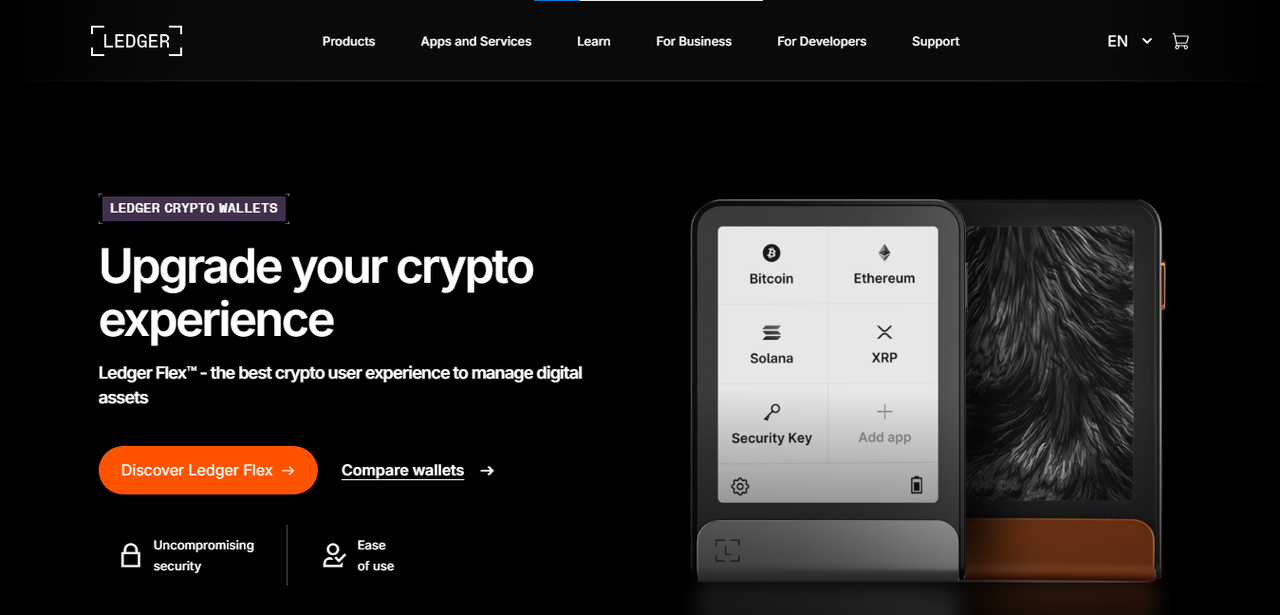
Ledger.com/start is the official portal for setting up your Ledger hardware wallet. It provides a guided process to help users install the official Ledger Live app, configure their device, and create a secure recovery phrase. By following this guide carefully, you can ensure your cryptocurrencies remain protected against scams, phishing, and digital theft.
Step 1: Visit Ledger.com/start
Open a secure web browser on your computer and go directly to Ledger.com/start. This page ensures you’re downloading the genuine Ledger Live software, which acts as the bridge between your Ledger device and your cryptocurrency accounts. Avoid downloading Ledger Live from unofficial sources or links shared on social media — these could contain malware.
Step 2: Download and Install Ledger Live
Once on the page, choose the version of Ledger Live that matches your operating system (Windows, macOS, or Linux). Run the installer and follow the on-screen instructions. When complete, open the Ledger Live app. You’ll be greeted by a welcome screen and prompted to connect your Ledger device.
Step 3: Set Up Your Device
Connect your Ledger device via the supplied USB cable. You’ll be asked to set a secure PIN code. Choose one that’s difficult to guess but easy for you to remember. This PIN acts as your first layer of security and protects your wallet if the device is lost or stolen.
Step 4: Write Down Your Recovery Phrase
The device will generate a 24-word recovery phrase. This phrase is your master key — it can recover your entire wallet if the device is damaged or lost. Write it down on paper and store it somewhere safe and offline. Never save it digitally or share it online. Ledger will never ask you to enter it on any website or app.
Step 5: Verify and Secure
After recording your recovery phrase, the device will ask you to confirm several of the words. This ensures you’ve written them down correctly. Once verified, your Ledger is ready to use. You can now add cryptocurrency accounts and receive funds securely through Ledger Live.
Step 6: Keep Your Device Updated
Ledger periodically releases firmware updates to enhance security and add new features. Check Ledger Live for any available updates and follow the prompts to install them safely. Always verify on the device screen that the update is authentic before confirming.
Why Ledger Hardware Wallets Matter
Unlike software wallets, Ledger hardware wallets store your private keys in a secure chip, isolated from internet exposure. This prevents hackers from stealing your funds even if your computer is compromised. With on-device confirmation, no transaction can occur without your physical approval.
Conclusion
Setting up your wallet through Ledger.com/start is essential to ensure you’re using official, verified software and a genuine device. Following these steps — from downloading Ledger Live to safeguarding your recovery phrase — guarantees your cryptocurrency remains under your exclusive control. With your Ledger device properly configured, you can confidently manage your digital assets, knowing that your security is backed by industry-leading protection.